Thursday, February 23, 2012

Love my Ruffling Foot!

We just held one of our Sip & Tips (you bring your coffee to sip and we demo a technique or yak about cool sewing stuff) in our shop called "Foot Fetish!". There are so many feet out there for your machine that can simplify your stitching, as well as speed up the process and give you better-looking results. More of that handmade rather than homemade look. One that tops my list is my ruffling foot.
It's a little scary-looking. But it's amazing. And so cool. It pushes the fabric forward with the forky-prong-like piece, makes a pleat, and stitches it down. You can set it to stitch down every pleat pushed forward, or to skip stitches, so your end result can range between super-ruffly to a pinch-pleated look.

I wanted to change the "Casey" jacket pattern by Children's Corner by deleted the hood and rolled-up cuffs, and adding ruffles. I first tore two 3-inch wide strips of  45" fabric, stitched the short end together, and pressed open the seam. I then folded and pressed the strip in half length-wise. I ironed on a strip of 1/4" Steam a Seam along the wrong sides of one of the long edges.
Wait till it cools, then peel off the paper backing.


Fold it in half length-wise, wrong sides together, and iron along the raw edges. The raw edges are now bonded together.
Now strip you want to ruffle won't shift around when you insert it under the ruffler foot.


I usually increase my stitch length to 3. Guide the fabric loosely, making sure you have plenty of slack as you feed it through.

So much easier than basting and pulling and evening out......

Monday, February 6, 2012

Topstitch!

Handmade vs. Homemade--the discussion continues! And in no particular order.
Topstitching. Why bother? You've stitched. You've pressed. It looks absolutely OK. (Pattern by The Cottage Momma: Shortcake Reversible Romper, View B--LOVE it!--with added ruched ruffle & buttons)
Step it up a notch. Topstitch it. Since this dress is reversible, I made sure my bobbin thread matched my upper thread. I like to use my edge-joining foot, nestling my center guide (little metal piece that hangs down in the middle) next to the fabric edge. I moved the needle two positions to the left.
Straight stitch at a normal stitch length (2.5). You may want to slow your machine until you feel comfortable--particularly on curves. Pivot at corners, keeping your needle down. (One of the reasons I love having a knee lift! I can use both hands)
 Go super-slow on the rounded corners. You can take 2 or 3 stitches, & raising your presser foot, turn the fabric slightly & stitch a couple more. Repeat until you get all the way around.

A topstitched garment is so much easier to iron after it's laundered than one that's not. No searching for the edge of the fabric, no readjusting. It also is far less likely to ravel after repeated washings. Take the few extra minutes to topstitch!


Tuesday, January 31, 2012

Homemade or Handmade: Iron!

Ah, enough history for now! Time to get down to the practical concerning sewing--homemade vs. handmade.  Familiar scene: we're standing in the shop, someone thrusts a garment across the counter, saying, "Oh, I've never had any lessons", "I'm self-taught", "I never use a pattern", "I just did this the quickest way possible", or my personal favorite, "How hard can this really be?" After looking at the skirt or dress or jumper, I want to respond accordingly, "I can tell", "Indeed you are", "Perhaps you should try", "Slow down & pay attention", and "Probably harder than you think". yikes. The ideas may be lovely, the fabrics (especially if they're ours!) may be gorgeous, the sewer may be bursting with love, but if the construction is lacking or downright lousy, what do you have? A homemade-looking dress, jumper, skirt, pants, top. yikes.
Ways to avoid the homemade, and step it up to handmade.
I'll start with the simplest: IRON.

Iron your fabric prior to cutting. Iron your pattern pieces to get the most accurate cut.
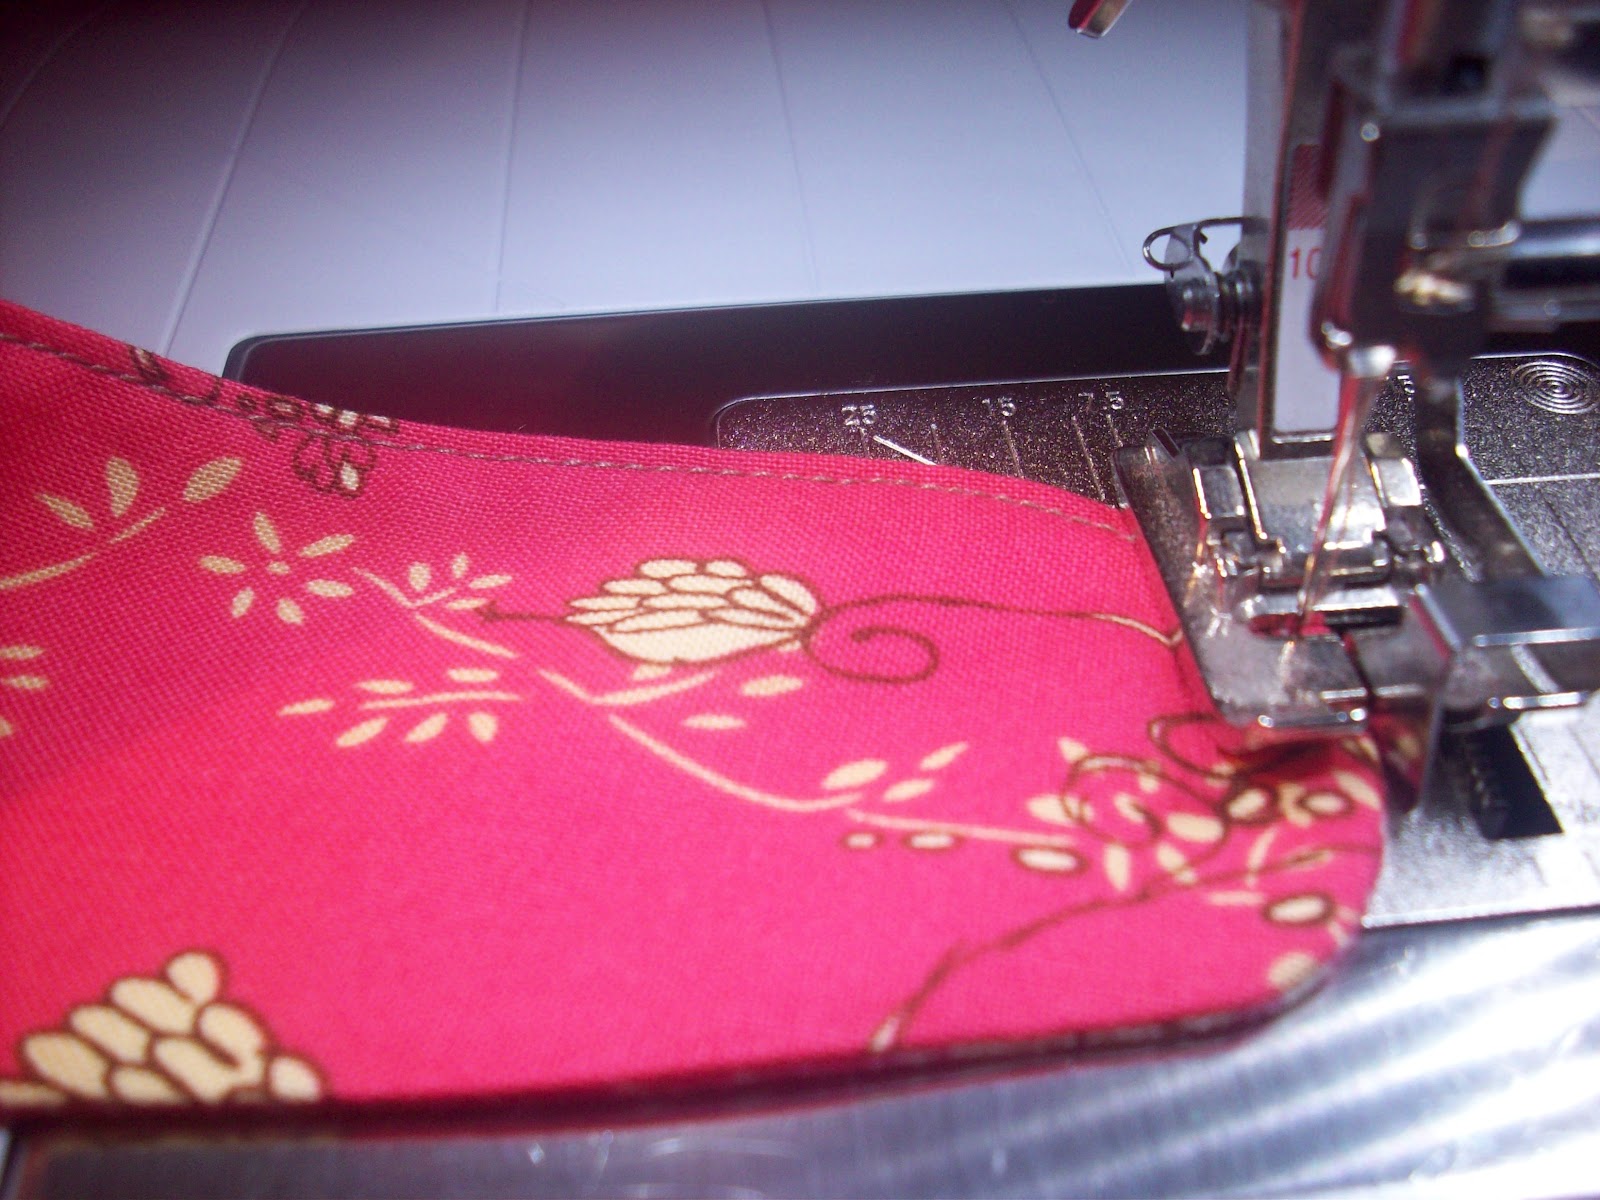
Press every seam as you sew it. Press your finished garment. Press your pattern pieces before you put them away (bonus--they'll fit back into the envelope!) press press press.
Invest in an iron that heats up quickly and has a few auto shut-off settings. An elongated tip on your iron will help you get in to those tiny spots. My iron hovers so I don't have to set it up on it's heel for its resting position--a sweet technological improvement! Plus it's a happy yellow. Amazing as it sounds, I LOVE my iron.
Must haves: a press cloth (provides protection to heat-sensitve fabrics, and can protect your iron from  bonding agents & adhesives; a sleeve board (to get inside all those kid-sized sleeves and pant legs); a pressing ham (for pressing darts--or anything that has a curve).
Invest in a rock-steady ironing board. Buy an extra cover so you can toss the starch-laden, adhesive-spotted one in the wash once in a while. And by all means, place the board in a spot that forces you to actually get up from your sewing chair to use it!

Wednesday, January 25, 2012

Done!

Make the bed. Gym. Home. Breakfast. Throw another load of laundry in the washer. Fold. Plan supper. Chop onions, peel garlic, potatoes, carrots. Dress for work. Empty the dishwasher. Pay some bills online. Drive. Work. Home. Make a salad. Serve supper. Eat. Clean-up. Pick-up (where does all that stuff come from anyway?) Vacuum. Then up to my sewing room I go, pick up the floral corduroy and my dog-eared Lucy pattern by Children's Corner, lay it out watching my nap--of-course!--cut it out, stitch the side seams, press. Glue-baste ric-rac, pull buttons out of my stash, stitch the lining, the bodice, the hem. Press. Turn it right side out. Press. Stitch the other side seam. Press. Top stitch everything. Buttonholes. Buttons Done. aaahh.
This is why I love sewing: it's one of the few things I do that STAYS DONE!

Friday, January 20, 2012

Oh, the Emotion of it All!

My love affair with sewing is in year 30-- I never would have predicted I would one day own a fabric shop (along with my friend, Dawn) and be able to "spread the love"! I get such a kick out of watching a new sewer get excited about stitching up her first project. Even better when she brings it by the shop for a little Show 'n Tell! The cool thing is veteran sewers (or sewists, if you prefer!) get that very same look on their face when they're strutting their stuff. Especially when they've stitched it for someone they love. I remember taking a doll-making class just so I could make a Raggedy Andy for my son's first birthday (he's married & a tough attorney now--I'm sure it just fed his sensitive side!) When I stitched the little "I Love You" heart over the doll's chest, I felt a burst of....I don't know, something pretty intense. That was ages ago, yet I can still resurrect that feeling when I think of it. So wonderful to be able to produce something in your hands that is an expression of your heart.

Wednesday, January 18, 2012

Birth Pangs!

I will forever be grateful to Ann Johnson. Expecting my first baby and eager to expand my wardrobe (to keep up with my waistline!), I jumped when Ann offered to teach me to sew. Maternity clothes in the '80s were pretty limited style-wise--OK, they were just plain bad-- consisting mostly of paneled pants & babydoll tops. Not to mention the jumpers. Ugh. But they proved to be the perfect learn-to-sew projects: unstructured, lots of fitting ease, and nice long seams for stitch practice. Couple that with my need for a new wardrobe, and I was hooked. 

I met Ann at her home twice a week, my new no-name sewing machine and cardboard cutting board in tow. She taught me everything--Sewing 101. From how to read a pattern to how to finish a seam. Maternity clothes grew into a crib skirt & bumpers (yeah, we used those in the 80s) in safe shades of yellow. A baby quilt with raised stuffed animals on each square. Cotton  nightgowns strewn with flowers (which I proudly adapted for nursing) and a white seersucker & eyelet robe for the hospital. Yep, I had definitely upped my domesticity quotient! More importantly, I began a relationship with what was to become a huge love in my life: sewing. Oh, not to mention the now-6'5"-baby boy.