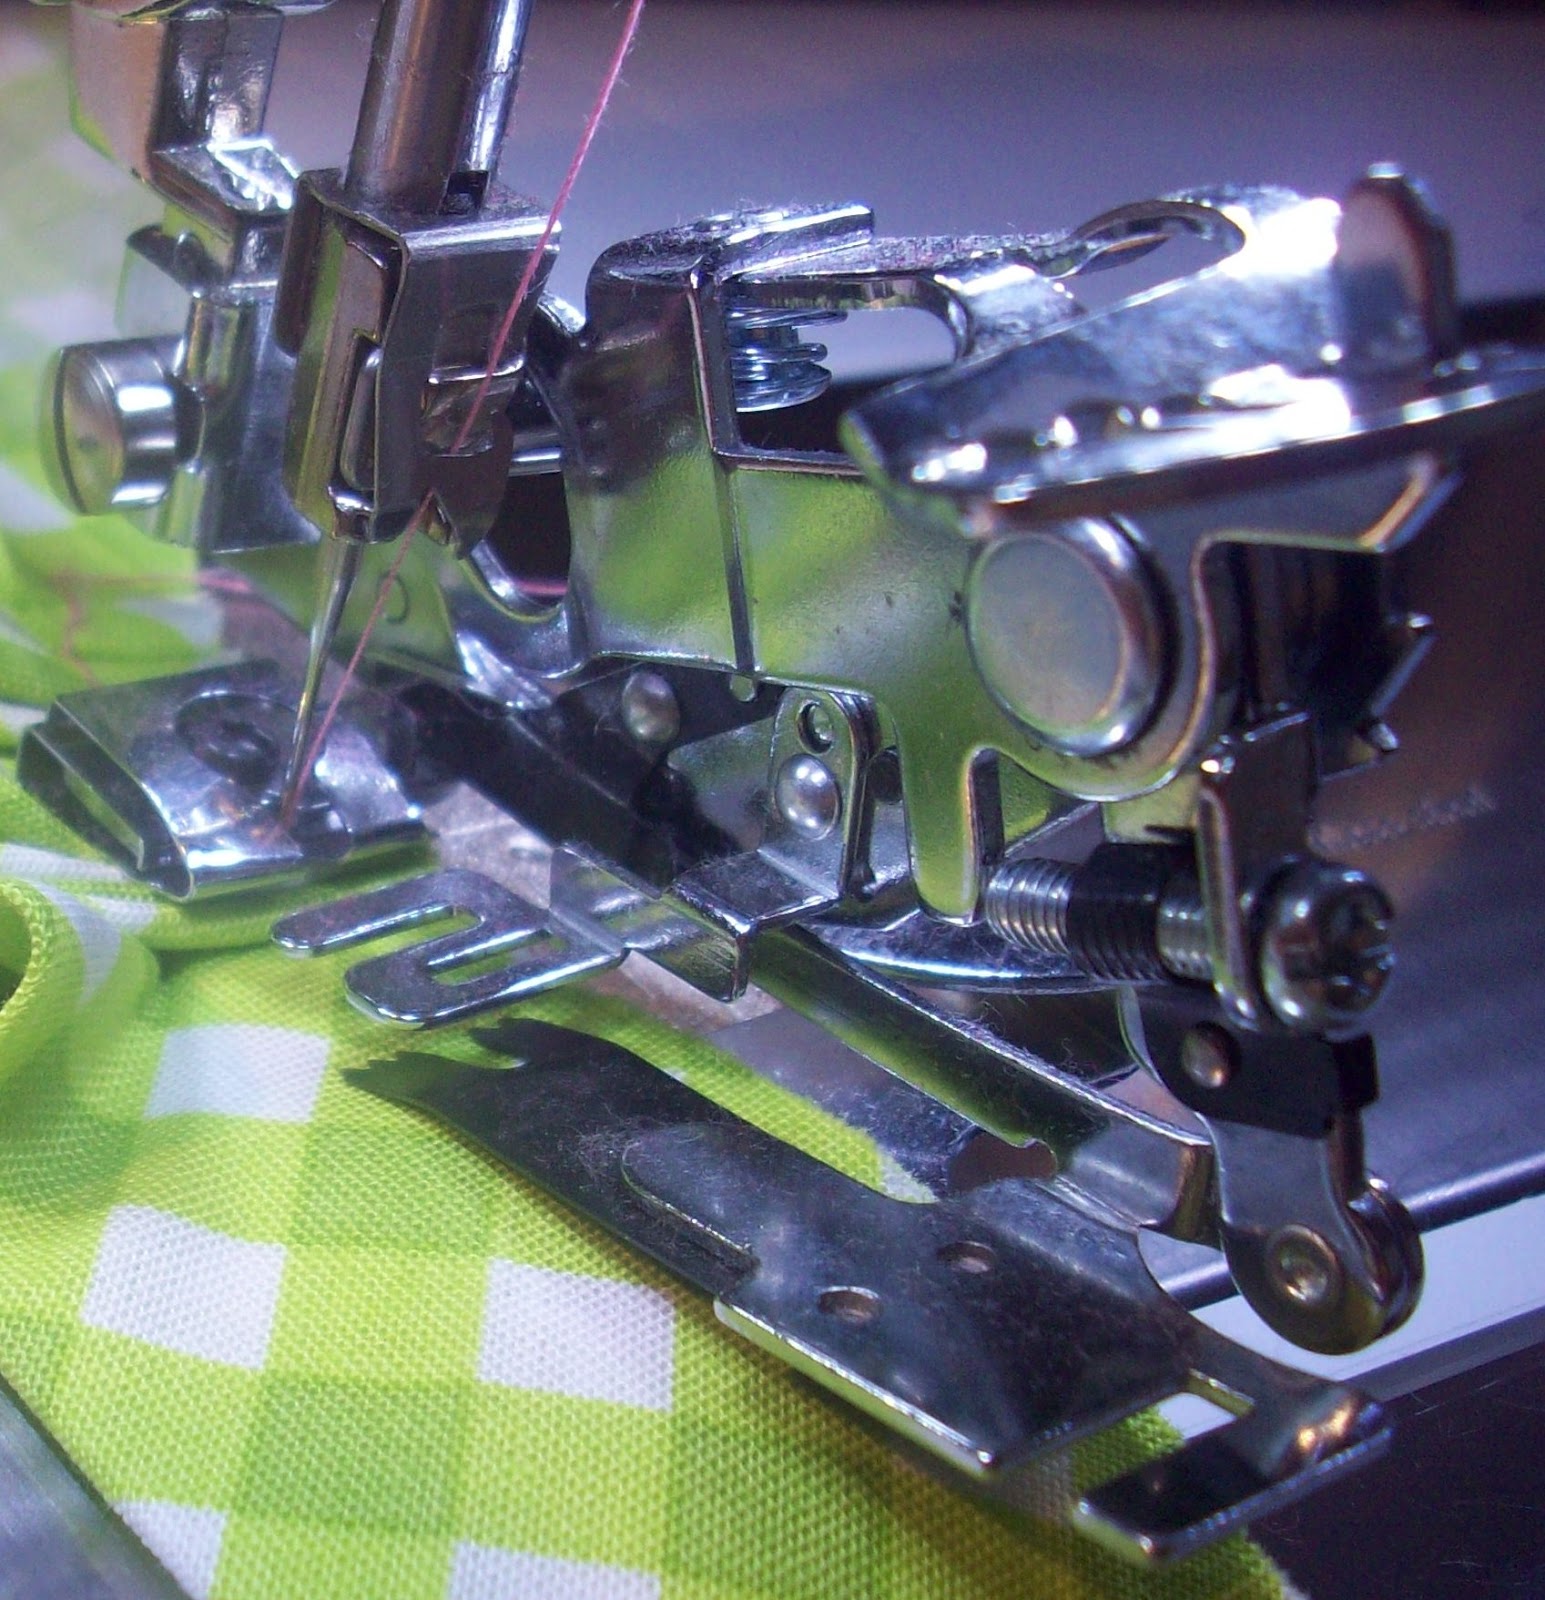
We just held one of our Sip & Tips (you bring your coffee to sip and we demo a technique or yak about cool sewing stuff) in our shop called "Foot Fetish!". There are so many feet out there for your machine that can simplify your stitching, as well as speed up the process and give you better-looking results. More of that handmade rather than homemade look. One that tops my list is my ruffling foot.
It's a little scary-looking. But it's amazing. And so cool. It pushes the fabric forward with the forky-prong-like piece, makes a pleat, and stitches it down. You can set it to stitch down every pleat pushed forward, or to skip stitches, so your end result can range between super-ruffly to a pinch-pleated look.

I wanted to change the "Casey" jacket pattern by Children's Corner by deleted the hood and rolled-up cuffs, and adding ruffles. I first tore two 3-inch wide strips of 45" fabric, stitched the short end together, and pressed open the seam. I then folded and pressed the strip in half length-wise. I ironed on a strip of 1/4" Steam a Seam along the wrong sides of one of the long edges.
Wait till it cools, then peel off the paper backing.

Fold it in half length-wise, wrong sides together, and iron along the raw edges. The raw edges are now bonded together.
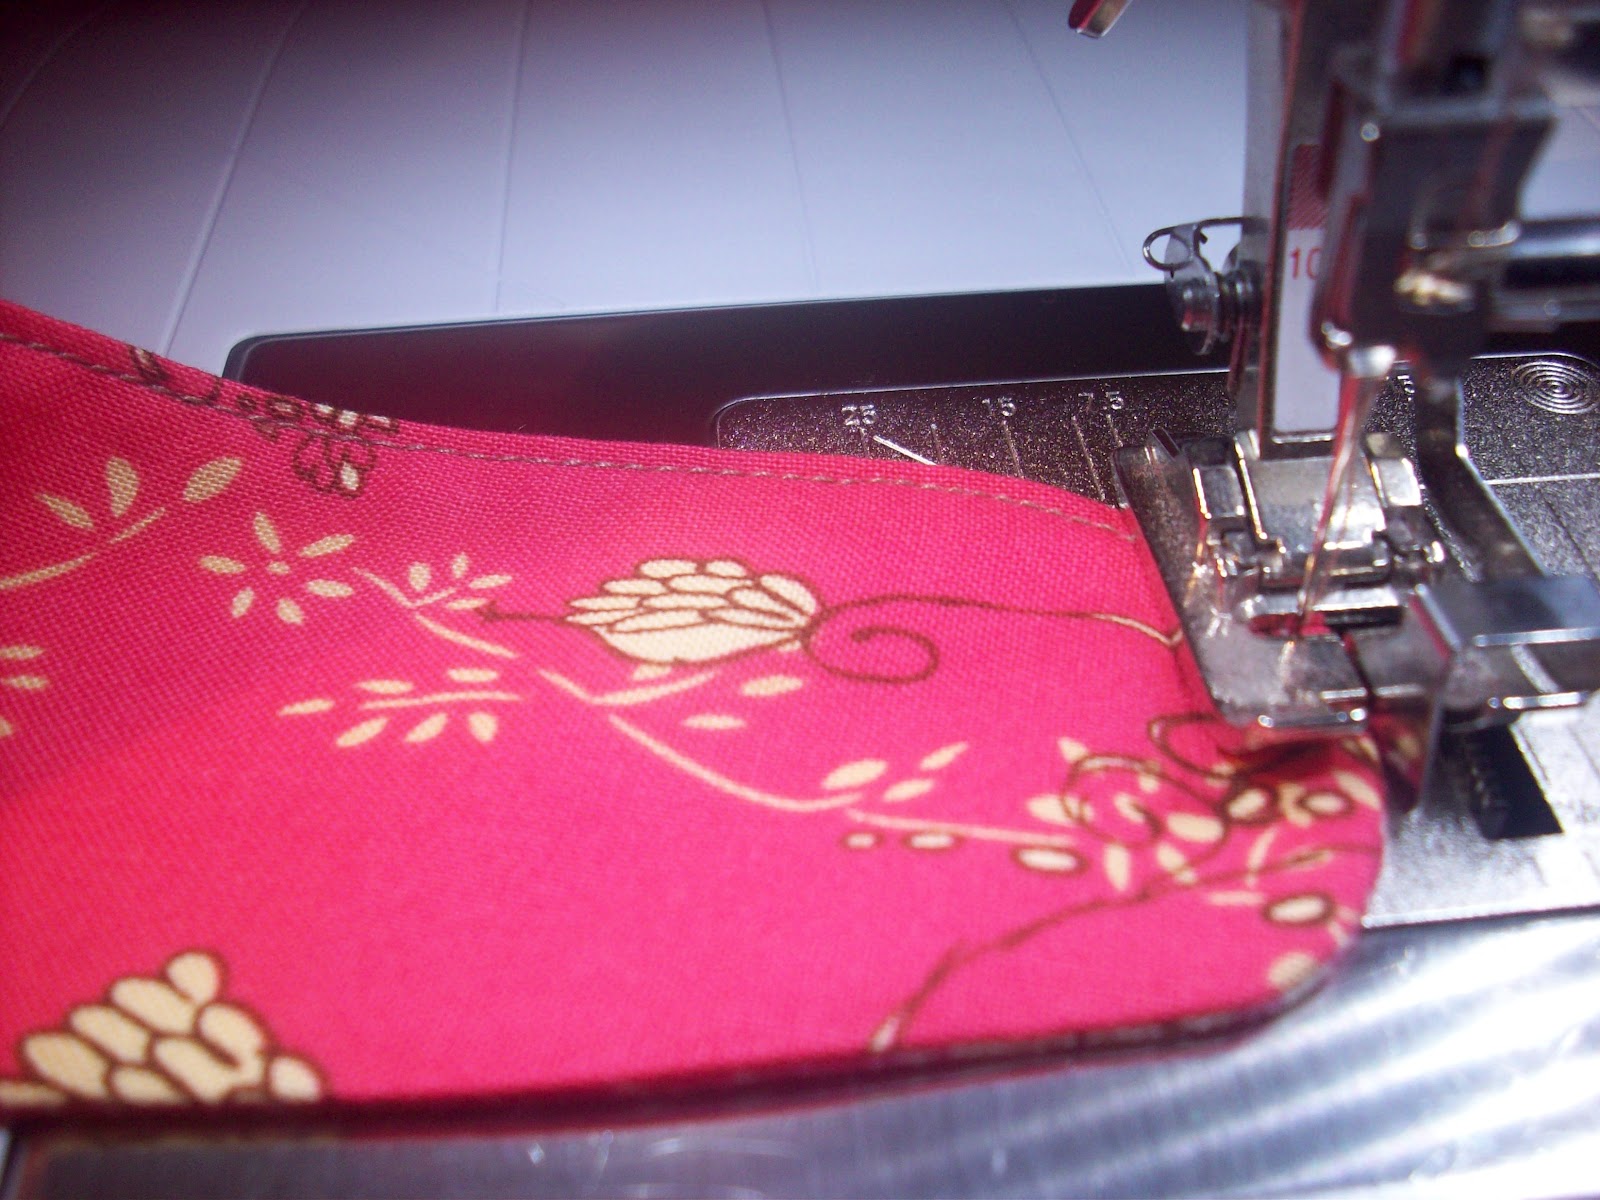
Now strip you want to ruffle won't shift around when you insert it under the ruffler foot.
I usually increase my stitch length to 3. Guide the fabric loosely, making sure you have plenty of slack as you feed it through.
So much easier than basting and pulling and evening out......

 I wanted to change the "Casey" jacket pattern by Children's Corner by deleted the hood and rolled-up cuffs, and adding ruffles. I first tore two 3-inch wide strips of 45" fabric, stitched the short end together, and pressed open the seam. I then folded and pressed the strip in half length-wise. I ironed on a strip of 1/4" Steam a Seam along the wrong sides of one of the long edges.